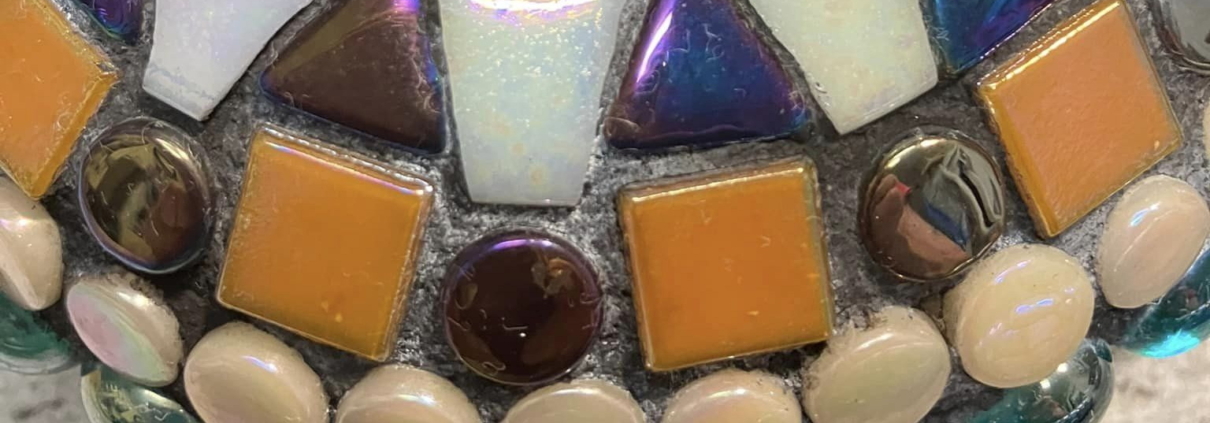
Grout Efflorescence
What is Efflorescence?
The term comes from the French (the “Flowering“). It’s caused by dissolved salts that are left behind when water evaporates from porous materials migrating to the surface. You will often see it on terracotta pots that have not been sealed before being filled with potting mix. The watering promotes the leaching of the salts from the mix into the porous terracotta and onto the surface.
Just to clarify, cement grouts and cement-based adhesives both contain salts.
How to avoid it?
After periods of heavy rain (such as we have had in Canberra over the weekend), you may notice this bloom occurring on your pieces – even those that have been completed for some time. It is normally just cosmetic, but if it happens in a particular area on your work, do check carefully for grout cracks.
- fully seal your piece prior to mosaicing. If mosaicing on a pot, seal all surfaces (inside and out) according to manufacturers instructions (I use 2 coats)
- avoid grouting, or working with cement-based adhesives in cold temperatures, or in wet or damp conditions
- Local water quality can also be a factor in efflorescence. Using distilled water in your grout may help
- mix your grout on the drier side
- ensure that your substrate and adhesives are fully dry before grouting
- The StyleGrout Tech cementitious grout that I sell has an efflorescence inhibitor in it. It won’t stop efflorescence completely in heavy weather, but will minimise the impact.
- to be really safe, use Epoxy grout (Litokol Starlike EVO is available here).
How do I remove it?
Remove the bloom before re-grouting or sealing your work. Painting or re-grouting over it without first removing will not work – as the bloom will just migrate through to the new surface.
- Scrub the work with a stiff-bristle brush, or a power scrubber (photo of the brush I use is below). If the work is delicate, extreme care must be taken – using a stiff toothbrush may work.
- use a dilute solution of 15 parts water to 1 part hydrochloric acid – available at Bunnings in Australia, or good hardware stores
- Once the work is FULLY dry, seal as normal


Leave a Reply
Want to join the discussion?Feel free to contribute!